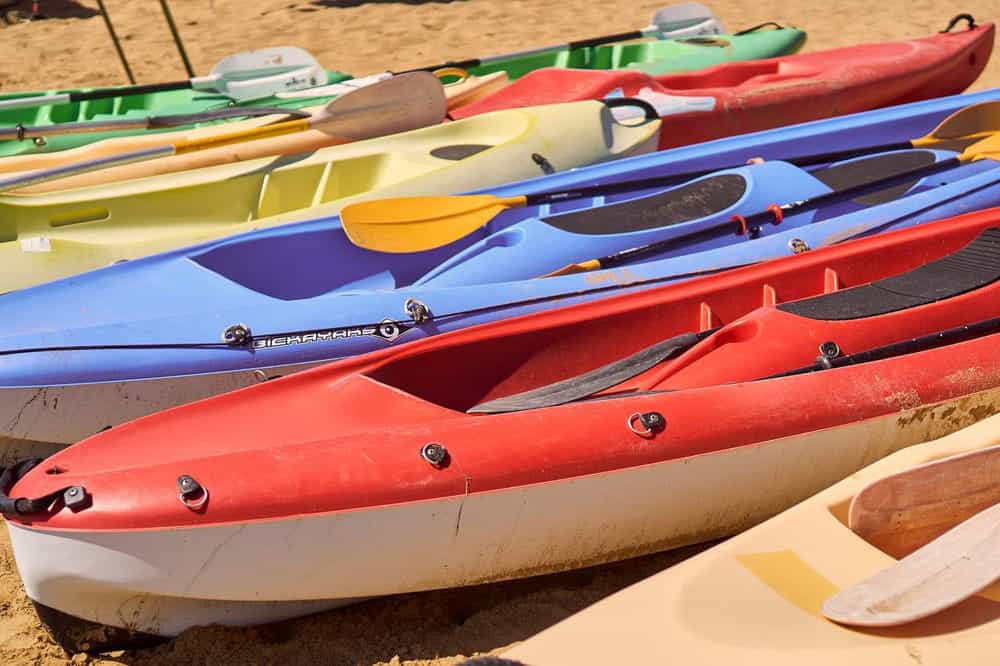
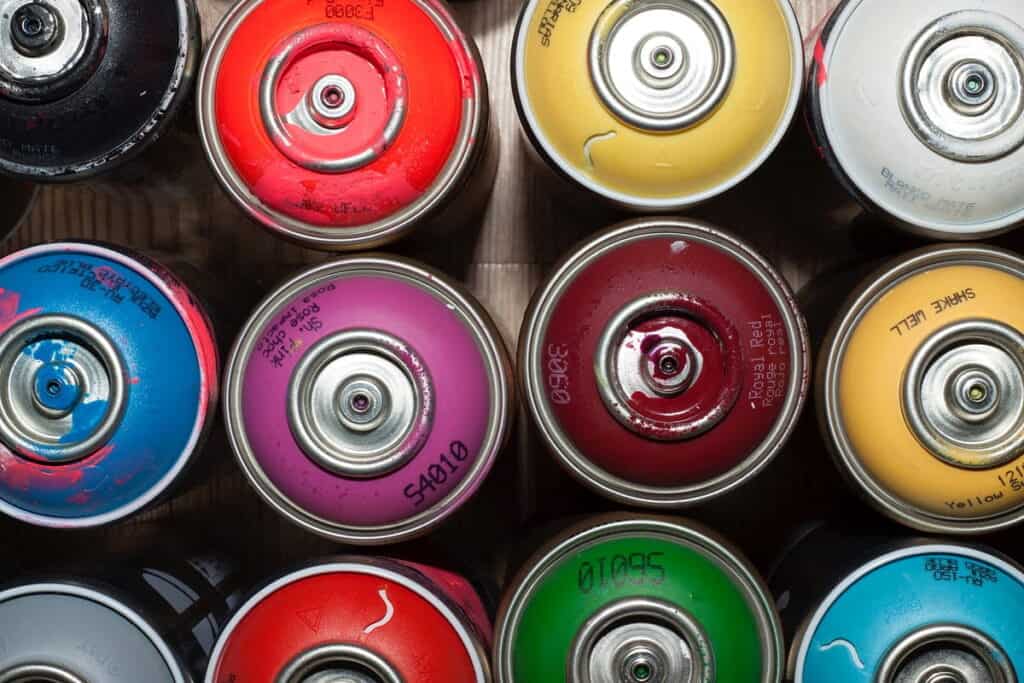
Fiberglass is lightweight, durable, and sturdy, making it an excellent material for making kayaks. Moreover, durability doesn’t sacrifice aesthetics, especially when you can repaint your vessel.
Painting a fiberglass kayak is not as complicated as it sounds. If you are not confident, stay with us to discover instructions for changing your kayak’s color.

Guide To Painting Fiberglass Kayak
The key to this project is to choose the right type of paint, which we will discuss in the latter part. Now, you need to collect the following tools:
- Paint
- Paintbrush, paint roller, or sprayer
- Dishwashing soap
- Clean clothes
- Painting mask
- Protective gloves
- Sandpaper
- Acetone
Once you have everything at hand, let’s jump to the detailed instructions.
Step 1: Remove the stuff
Start by removing everything you do not want to paint, such as screws, seats, or accessories.
After that, decide where you’re going to paint your kayak. If you don’t want flying debris to destroy your hard work, be sure to choose a well-ventilated, dust- and debris-free place.
If you can only paint your kayak in an enclosed place, open the windows and door. Turn on the fans too. The steady air circulation will help the paint dry quickly and eliminate the toxic odors.
However, the wind is an enemy of spray paint. If you choose this painting method, go for it on a sunny day with little wind.
Step 2: Sand down your kayak
To ensure that your kayak is clean and clear of any dirt and residue, wash it with soap, a clean towel, and lukewarm water. Then, please wait for it to air dry thoroughly.
Once your kayak has dried completely, sand down the surface with grit paper to make it smooth and rough enough for the paint to stick easily.
You can apply some acetone to a cloth and use it to wipe the surface.
The detergent removes oils on your kayak and prevents the newly-applied paint from sliding. Remember to use protective gloves and a large tarp for this step.
Step 3: Choose the paint
Water-based paint may be a better choice for repainting your kayak. Meanwhile, oil-based paint may not withstand well against external elements.
In severe weather, this sort of paint is prone to cracking and is vulnerable to UV degradation.
You can spray oil-based paint on your vessel. However, remember to apply paint thinner and clean the spills after use.
On the other hand, water-based paint typically has superior UV resistance, is more versatile, maintains its gloss, and can weather outside applications better.
Any paint you choose should be waterproof and suitable for fiberglass because ordinary paints may not adhere to the material, ruining your project.
Some kayaks may benefit from marine grade paints, but it is frequently more costly. Furthermore, you might come across specific specialized paint that can be perfect for particular boats.
Marine-grade paints are popular due to their durability. However, be careful with the lead chemicals in these products.
Yet, even with marine-grade paint, you may need to apply at least two layers of paint. To protect the hue, you can also finish with a third layer of clear pain, like Krylon 1311.
Another great option is acrylic paint. It adheres well to fiberglass, removing one of the hardest painting problems.
Acrylic paint is easy to clean and less likely to fracture and blister. Moreover, this water-based paint is more environmentally friendly because it uses fewer chemicals and is simple to use.
Step 4: Paint the kayak
There are two ways to paint your kayak:
- Paintbrush
Using a paintbrush will be more time-consuming. Make sure you have enough skills to cover all the areas and make it as smooth yet quick as paint spraying.
If your kayak is small, the whole process will be faster. However, you need complete control over the paint when the brush accesses tiny areas.
With the two disadvantages mentioned above, the paintbrush is still preferable for your project. It adds a more elaborate appearance, especially if you want to showcase your artistic aspect in the paint coats.
- Spray
Spraying is much easier because it can cover a large area at one time and make it even. The outcome also looks nicer because it leaves no brush lines.
However, the sprayer is not a paint-efficient choice because some paint will vanish in the air before it reaches the surface.
Moreover, you may end up in a mess when the paint settles on adjacent objects. Hence, make sure to choose an area away from other stuff.
Another thing to bear in mind when you choose this method is ventilation.
If you use the spray paint in an enclosed place, its fumes will spread in the air and get stuck in the room, which is harmful to breathing.

Step 5: Allow the paint to cure
To avoid clumps and runs, wear a painting mask and gloves and begin to paint your kayak with thin, equal layers.
Often, you have to apply two layers of paint for the best result.
No matter how many coats you go for, wait for several hours between the coats. The paint must be dry before you apply another layer to it.
Step 6: Apply an additional coat
A clear layer of finishing paint will protect against external damage and scrapes.
In other words, it can prolong the lifespan of the paintwork. Then, you need to wait for some hours until all the layers dry completely.
Step 7: Wash and wax the kayak
Your kayak should be spotless. So, give it one final wipe down with dishwasher soap and water after you’ve restored all hardware and accessories. You can also add some decals.
Applying marine wax is optional, but we recommend it. Waxing your vessel can preserve its new paint and enhance the hull’s gloss.
Why Should You Paint A Fiberglass Kayak?
Why do you need to spend time selecting the paint and applying it to your kayak so carefully? The boat deserves this treat. Here are some reasons you should perform it.
Scratches
Your kayak may have hit underwater obstacles, knocked on objects while in transportation, or dragged at the launch. Such incidents cause scratches and cracks on the kayak.
Thankfully, you can cover all these imperfections with painting or refurbishing. Don’t forget to repair any errors as soon as possible.
UV damage
Similar to how it affects your car, direct exposure to sunlight, specifically UV light and heat, can harm and discolor the original hues of your kayak.
In this case, painting can give your boat a new coat and recover its look. Applying UV protectant spray to improve its ability to withstand heat is necessary.
Camouflage paint
Most recreational kayaks have bright colors. However, some people believe that the vivid hues are unsuitable for fishing.
Although fish don’t bother the color, anglers need a mild kayak color for concealment. Instead of buying a new boat, you can repaint your kayak.
Customization
A fiberglass kayak can meet your requirements in durability, sturdiness, and flexibility. It may also have your favorite shape and design.
But what if you can’t find the color you like? Why don’t you carry out a custom paint project?
Feel free to style your kayak to illustrate your personality. You can find decals to stick on the boat. Adding your signature patterns is also a good idea.
Conclusion
The paint can change the entire look of your kayak. It can also act as a protection layer, boosting the boat’s durability.
If you have any difficulty painting your kayak, please let us know. We will be glad to assist you in solving any of your problems. Thank you for reading!