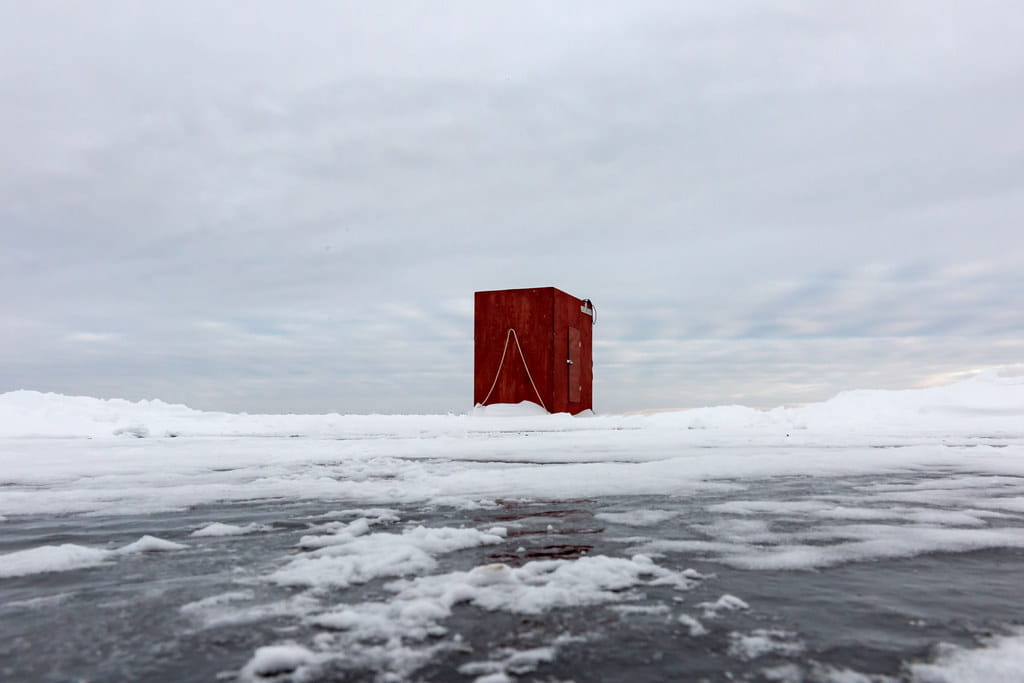
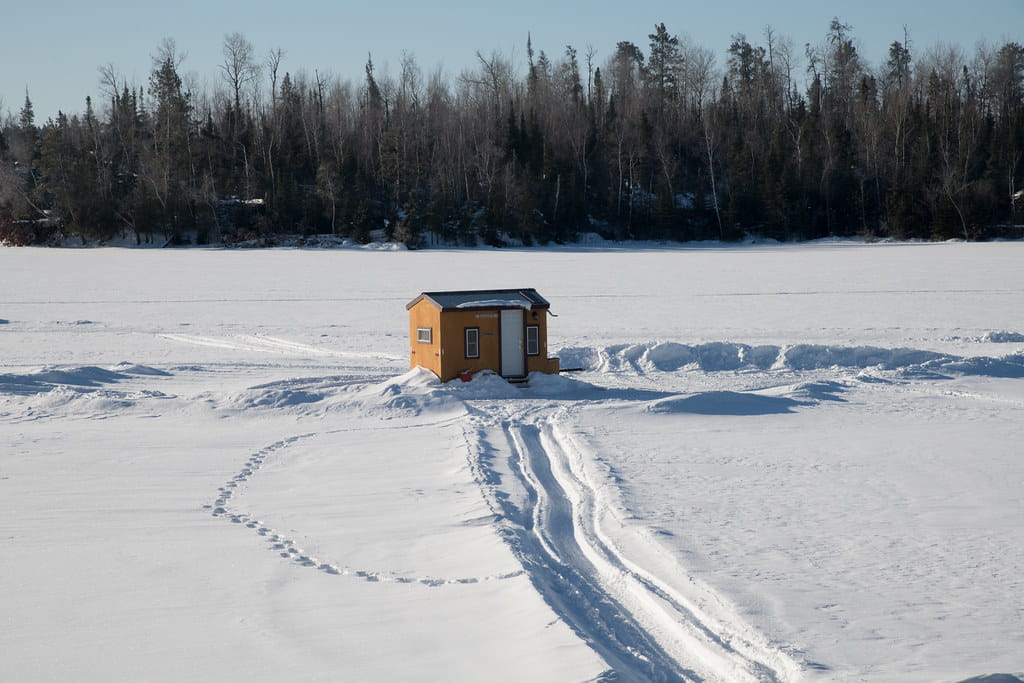
An ice shack is a portable shelter or even home for winter anglers. It protects you from the storms outside and keeps you warm inside.
The only problem with this unit is its big size, making it hard to transport. Thankfully, you can set up a lighter model for yourself.
This article will show you how to build a lightweight ice shack easily. So what are you waiting for? Let’s check it out!
How To Build A Lightweight Ice Shack?
There are five steps to building an ice shack. The idea of making it lightweight is to use light wood for all the parts.
Step 1: Gather tools and materials
The tools needed for this project are:
- Hammer
- Saw
- Tape measurer
- Protractor
- Pencil
- Screw gun
After gathering the tools, prepare the materials as follows:
- Wood boards
- Plywood
- Wood sheets
- Wood screws
- Finishing nails
- Wood glue
- Hinges
- Corrugated metal sheets
- Foam insulation
Step 2: Prepare the area and measure.
No matter how detailed you design it, sketch the layout before getting started. So, use spray paint to sketch the shack’s dimensions on the ice.
Decide the height of the shelter. You can find sticks and lay them vertically to measure their height and determine the most comfortable height.
After measuring, buy 2×4 wood boards at the desired length. Trim down until they fit the measured size.
Step 3: Build the base and attach the siding and roof.
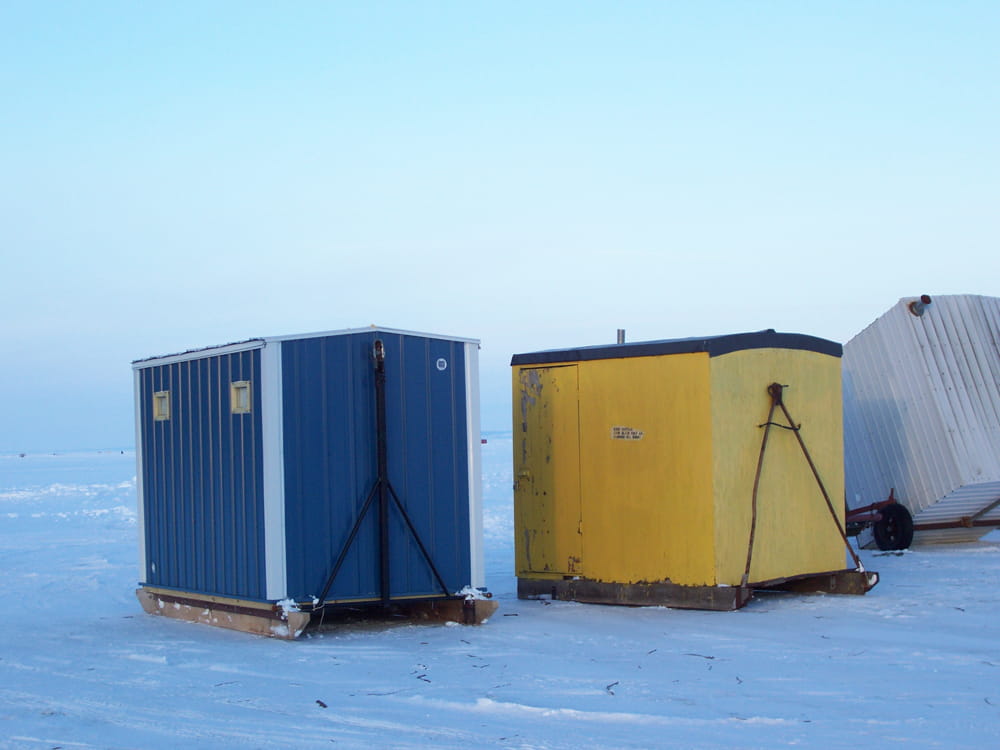
This step is the most important in the whole process. We will divide them into three sections: base, walls, and roof.
Base
You need plywood and wood boards to build the base. Here’s how to go about it:
- Saw the top boards and attach the outer boards
- In the middle, put some boards spaced 12 to 18 inches apart
- Fasten the boards together using screws
- Place the plywood on the frame that you have made
- Fasten the plywood over the base with nails
- Trim off any excess parts until all the boards fit
- Use glue to attach the foam insulation to the walls
Walls
Now, move to the walls. Please follow these tips for building the walls on the frame you’ve constructed:
- Lay the frame boards on the base and use screws to fasten them.
- Place the vertical supports and secure them with screws. You can fasten the supports by inserting a wood piece on the top and toenail it.
- Fasten every 24 inches of the wall for better stability.
Roof
You can build an angled or flat roof. We recommend the latter because it’s much easier to create. You only need to take two steps:
- Cover the top with sheets of corrugated metal. If you need more than one sheet, put them on top of each other.
- Just secure the sheet to the roof at the top, bottom, and sides to prevent leaks with screws.
Step 4: Attach a door
Cut a hole in one of the walls for an entryway. With wooden boards and screws, you can frame the cutout easily.
Then, take the cutout, and affix hinges. Remember to attach the hinges to two sides of the structure.
Finally, insert a latch fastener and hook to close the door.
Step 5: Finish
You can now paint and weather-seal the ice shack. Also, seal any spots where rain and wind can enter by brushing around all the corners with silicone caulk.
Things To Bear In Mind When Building An Ice Shack
To bring out the best of this DIY project, you need to note the following points:
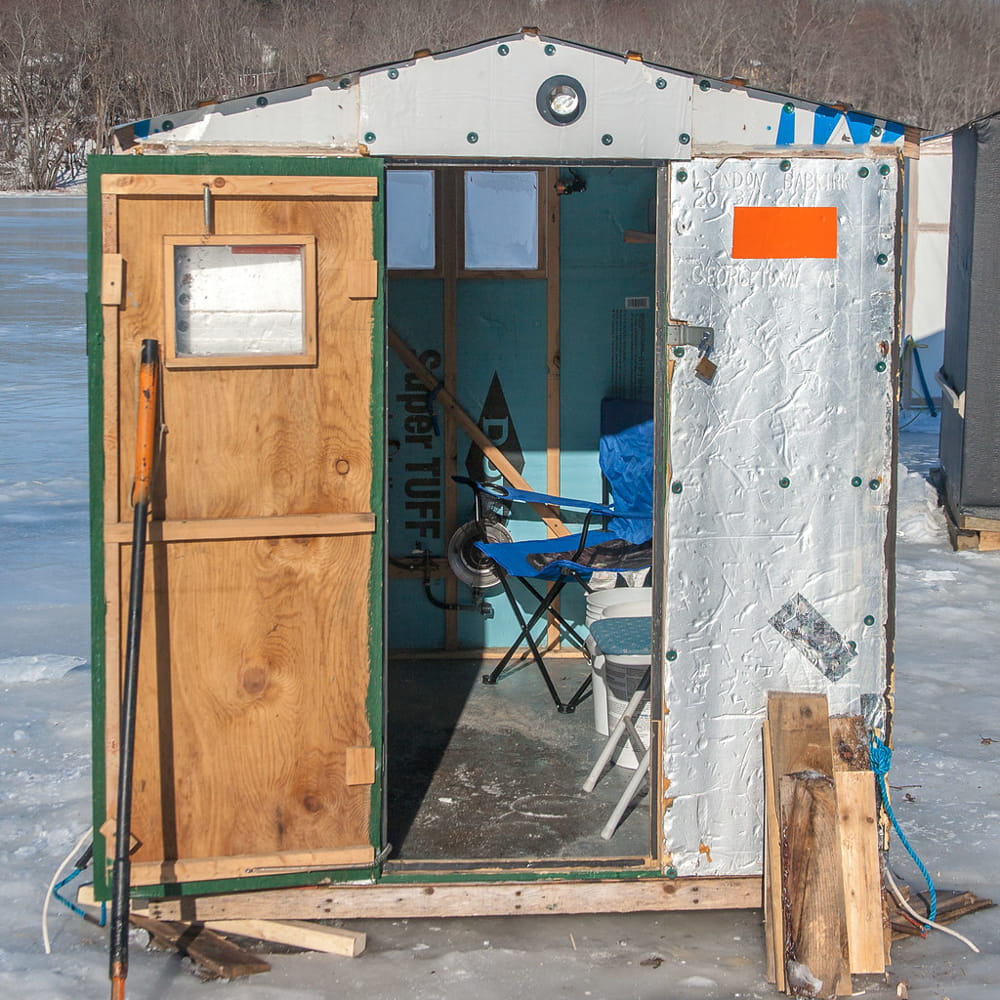
- Have a toolbox in your ice shack to prevent unforeseen construction mishaps.
- Be careful not to overdo the decorating and furnishing of the house.
Ice fishing is about spending time outdoors and relaxing. Therefore, don’t add too much clutter and things to your to-do list.
- Install only what you actually need and intend to use. A bed may make sense if you need a nap.
- Put a lockable storage container inside if you decide to put some of your gear there.
- Painting the walls is a good idea for decoration.
Other Options For Fishing Shelters
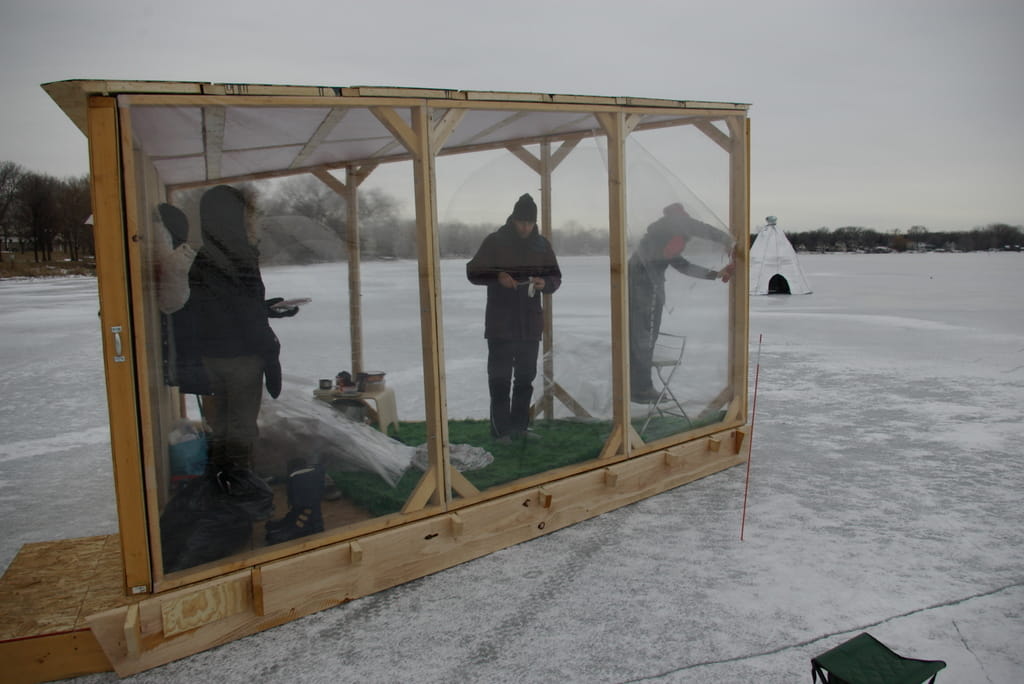
Building an ice shack is not a simple task, especially if you are not good at arts and crafts. So, you can choose other solutions to protect you while fishing in the winter.
Trailers
You can convert a trailer into your ice shack. This unit is very convenient because you can easily carry it with you from one place to the next.
Insulation is another benefit of the trailer. Moreover, this finished product doesn’t require you to do anything but make windows and holes for circulation in the interior.
Feel free to furnish the trailer too. You can turn it into your house by adding a lounge or a bed.
Trailers come in different styles, sizes, and price ranges. You can buy a cheap, used one or pay more for a fancier model.
Pop-up house
Pop-up ice houses look like tents, but they are meant for ice fishing. Given that they offer a warm, pleasant ambiance, people also call them hub shelters.
This kind of shelter can deal with many weather circumstances because it is lightweight, robust, and watertight.
These well-insulated shelters also offer excellent ventilation, allowing you to use gas for cooking safely.
However, please note that this unit is a short-term solution. The ice shack will be a better option if you want a bigger and more satisfying shelter.

How To Tell If Your Fishing Shelter Is Good?
You’ve just built or bought a fishing shelter. Before using it, you need to evaluate if it’s worth the investment. There are some criteria for this assessment.
Durability
It adds no value to having a fragile ice fishing shelter. Nobody wants to invest in any gear that will just last for one season.
Winter fishing is challenging because of the ice storms. In addition, you must deal with the rough terrain and the dry air. Hence, you’ll require a weather-resistant ice fishing hut.
Search for materials that are sturdy and heavy. The seams also play a vital role as the quality of your shelter’s seams could mean the difference between an annoying fishing trip and a satisfying one.
Insulation
This feature may be available or not because you may have a non-insulated or insulated shelter.
- Insulated shelters: These units are often bigger and heavier, making it harder for them to transport.
However, they safeguard you from the freezing weather outside. You don’t even have to install a heater to stay warm.
- Non-insulated shelters: They are easier to carry around and faster to dry. However, the lack of insulation makes it hard for you under harsh weather conditions.
Capacity
How many people can the shelter hold? If you choose to buy it, the manufacturer already mentions its capacity on the package.
But if you want to build one, calculate and measure correctly.
The more people, the bigger the shelter. Also, remember to count some space for the setup.
Conclusion
Winter fishing is an exciting experience. You won’t be bothered about the cold with a durable ice shack. Try to follow our shared guide for the best shelter on the ice.
After building your shelter, do not forget to check for its durability, insulation, and capacity. Once it meets all the requirements, you will be certain to have a safe trip.
Hopefully, we have helped with your DIY project. Thank you for reading!